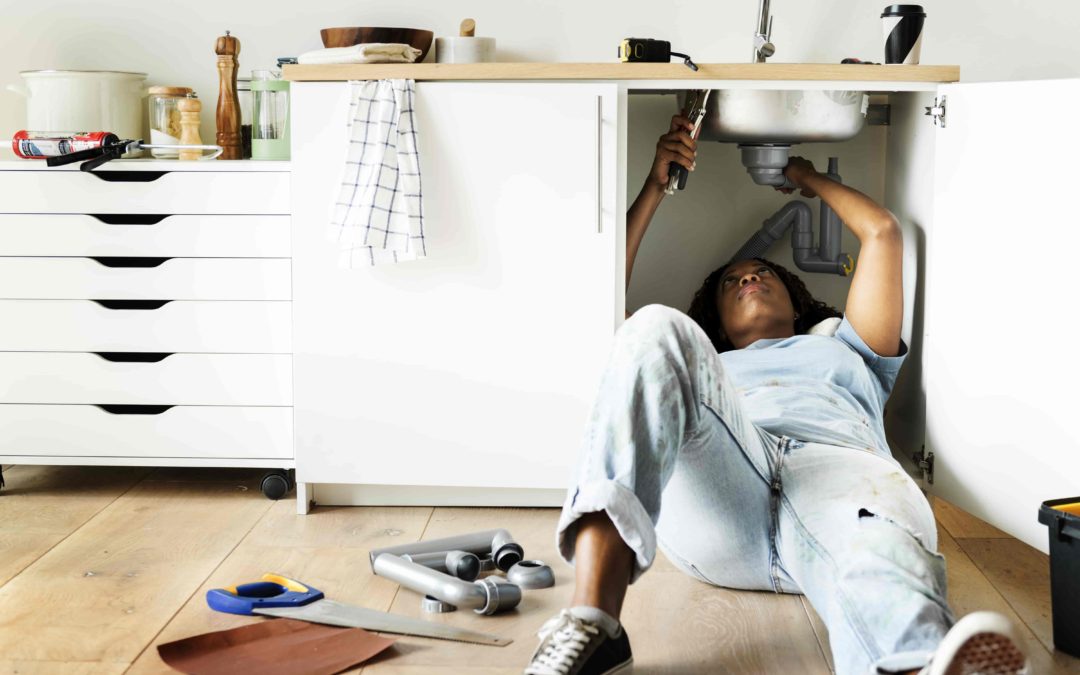
Your kitchen sink is probably one of the most well-used appliances in your home. From cleaning dishes, washing hands and straining food, your sink sees a lot of action throughout the years.
When it’s time to replace your existing sink, you might consider doing the job yourself. While possible, it requires many steps and careful planning to accomplish.
This blog is designed to help you through the process of installing your sink basket and the plumbing underneath. This assumes that you’ve already safely removed the previous sink and securely turned off the water supply.
Tools You Need to Install Your New Sink
- Screwdriver
- Adjustable wrench
- Tape measurer
- Caulk gun
- Flashlight
- Hacksaw
- Pipe wrench
- Putty knife
- Safety glasses
- Utility knife
- Slip joint pliers
Step 1: Check Your Measurements
Before installing anything, it’s important to make sure everything fits as it should.
Place the sink inside the countertop hole to ensure it fits, along with matching the faucet and the water supply connectors.
By taking this 10-second step, you can save yourself hours of difficult fixing and painful trips to the hardware store.
Step 2: Install the Sink Parts
This process involves installing the faucet, strainer and disposal mount.
Begin by placing the sink upside down either on the countertop or on a secure and safe surface.
- Faucet: Thread the tubing and tailpiece through the opening in the sink. Screw the mounting nuts and washer to the underside of the sink to keep the faucet in place. You can also add a bit of silicone underneath the base plate to keep water from leaking under the sink.
- Strainer: Start by applying a small amount of plumber’s putty around the underside of the strainer. Install the strainer by pressing it firmly into place. You know you’ve done it right when excess putty seeps into the sink basket. Then install the rubber gasket and threaded flange to the underside of the strainer. Make sure to clean up the excess putty!
- Disposal: Start by installing the garbage disposal mounting rack to the underside of the sink. Screw in the appropriate screws and ensure it’s secure. You’ll finish the installation process once the sink is attached to the countertop.
Step 3: Attach the Sink Basket
Make sure to first attach the clips to the underside edges of the sink, with the clips turned inwards toward the sink bowl.
Use silicone around the edges of the sink to protect the underside from water leaks and damage. Once applied, carefully lower the sink into the countertop opening. Make sure the sink edge is parallel with the countertop edge.
Step 4: Connecting the Pipes
Start by connecting the faucet water connectors to the supply line. Make sure the connections are fairly tight to prevent leaking.
If you’re also installing a garbage disposal, now is the time to add the unit to the mounting rack. This step also includes installing the discharge pipe. If you have a dishwasher, you’ll also install the dishwasher line here.
Connect the disposal discharge pipe to the sink drainpipe and reattach the P-trap. For this step, it’s incredibly important to use proper lengthed drain pipes. Make sure to measure your needed length, adding a little extra to keep the connection tight.
If you need a longer pipe, buy one from a hardware store. If they don’t have the exact size, feel free to shorten it with a hack saw. If you need a shorter pipe, you can cut off the desired length from your existing pipe using a hack saw.
Step 5: Testing the Connections
Once everything is in place, make sure to apply a small bead of sealant around the perimeter of the sink to keep water from leaking out.
Reconnect the power to the disposal and turn the water back on to test for leaks. Most leaks can easily be fixed by tightening any screws or washers. Still, it’s a good idea to keep an eye on the underside of your sink in case these leaks aren’t so easily resolved.
Common Mistakes When Replacing Your Sink
- Not measuring before buying: It’s easy to get excited when you find a nice sink that fits your kitchen’s style. But it matters more if it actually fits in your counter. Make sure the sink can not only fit in the same countertop hole but that the sink is a similar height. If the bowl is a different height, you’ll need to adjust where you place the tailpiece and invest in new pipes.
- Not checking for water stains: Not only do water stains and water damage tell you that something is leaking, but they can also make installation a hassle. Leaks around the sink rim can adsorb into the particleboard under the countertop. This causes the board to swell, making it more difficult to install the new sink. Not to mention weaker particleboards won’t provide a solid enough base.
- Not removing all the old caulk: When you first remove your old sink, you’ll notice the old caulk is still around the perimeter. Using a putty knife and caulk remover, you can completely remove the old caulk or plumber’s putty from the surface. Without following this step, your new caulk and sealant won’t create a complete bond with the countertop. That means you’ll have a less secure seal for a shorter amount of time.
- Not replacing all waste pipes: While you may want to reuse your existing drainage pipes, that could lead you to spending more money down the line. These older pipes don’t have as strong of a connection, meaning they’ll wear out more quickly and potentially lead to water leaks. Buy a drain pipe kit at a hardware or home center store that includes all the parts you need, like drainpipes, fittings, shutoff valves, supply line and a new basket strainer.
Local Plumbers Ready to Help
Installing your new sink is possible to do on your own. But it oftentimes requires a few tools you don’t already have or a level of care that you could mess up. When you want to guarantee your sink is installed correctly, you need expert plumbers dedicated to your satisfaction.
Mike Wilson Plumbing has been helping Chesterfield and Richmond homeowners for over a decade by proving them with the plumbing services they need. With a simple phone call, you’ll have access to all the information and assistance you could need.
Contact us to schedule a consultation.

